
* Tutorial made by Mrs. V, member of our Wedding Community. Thanks for this great idea!
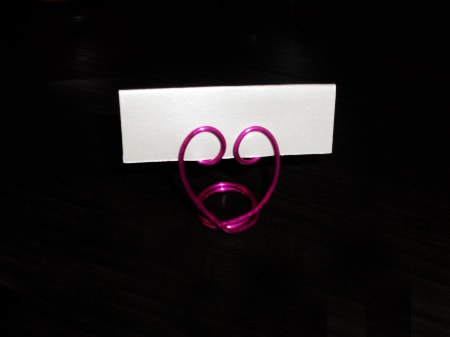
You are a very DIY bride and you want to personalize your wedding by making your own accessories for your decoration? Here is a good and practical idea to indicate the assigned location of each guest at your table using markers.
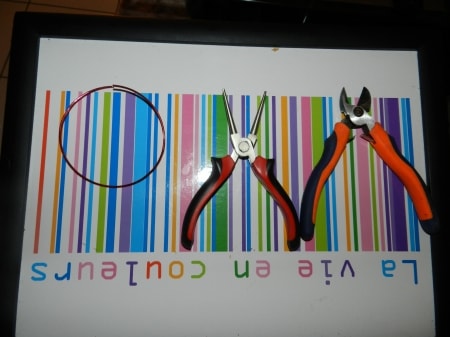
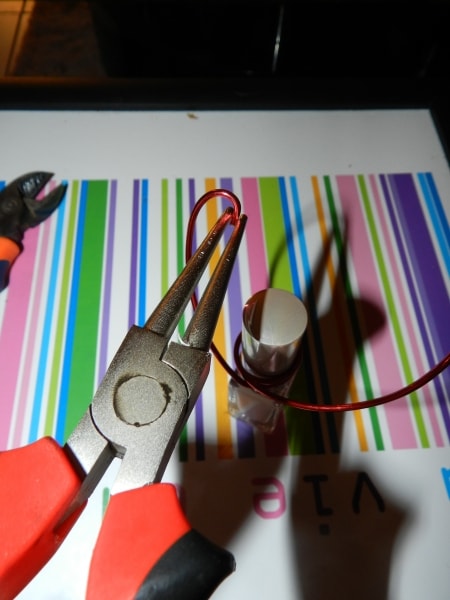
Here is the equipment you will need (arranged from left to right in the photo):
- A coil of aluminum wire in the color of your choice.
- A round nose pliers.
Here are the steps to follow:
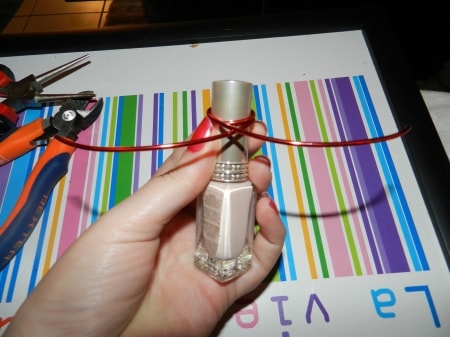
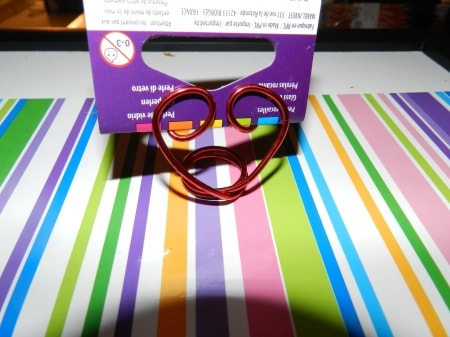
- Start by cutting a piece of aluminum wire about 12 inches long. Measure the diameter of the core base with a small cylindrical object, such as a plug of varnish.
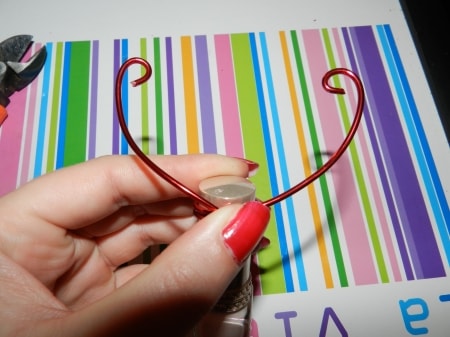
- Make two wraps around the object with the aluminum wire and put the two pieces together so that they are the same length.
- Next, straighten the two pieces of aluminum wire up so that they are perpendicular to the round base.
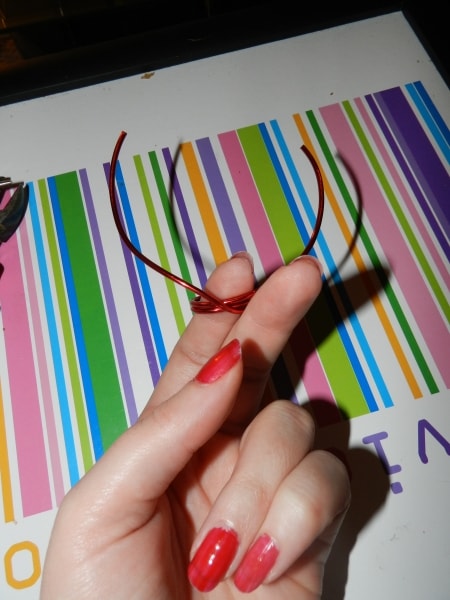
- Then shape the two rounded sides of your heart with the round nose pliers.
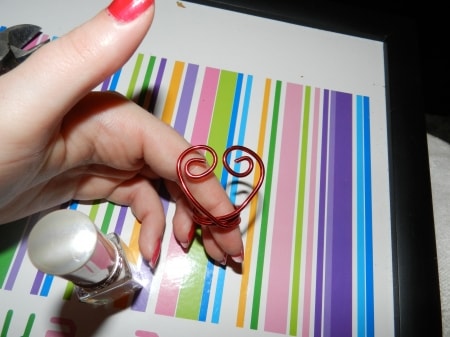
- Wrap the two loops around themselves with your fingers, one after the other, so that you can form your heart of the dimensions you want.
- Finally, push back the little loop that you formed at the beginning so that you can slide your little cardboard into it.
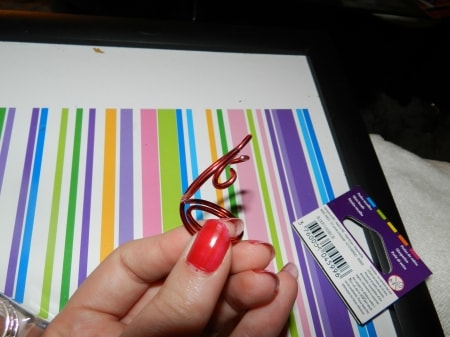
There you go, your heart-shaped placeholder is ready!
* Find all our wedding tutorials in our homemade products section.


Add comment