

* Based on an original idea by the event agency Instant Rêvé (Villeurbanne, Rhône).
This tutorial for creating an ink stamp is designed to create relatively simple shapes. We recommend that you use this technique to print shapes that are easy to cut, although you can use it to write messages. In the latter case, however, the result may not be perfect.
Here is the necessary material:
- Chewing gum, which will serve as the basis for creating your stamps. They can be found in all hobby stores.
- A pencil or pencil or greasy criterion.
- Ink in the color of your choice.

The steps to follow are those:
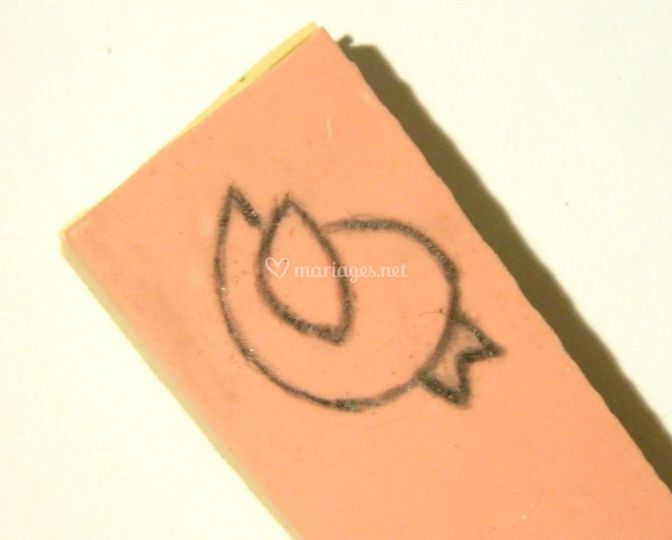
Print your image to the correct size and then draw the outlines of the image with your pencil.

Place the image face down on the pink side of the eraser and rub it so that the outlines of the image drawn with a pencil are imprinted on the eraser, being careful not to move the image during transfer.

Iron the outlines of your image on the eraser to get a sharp shape.
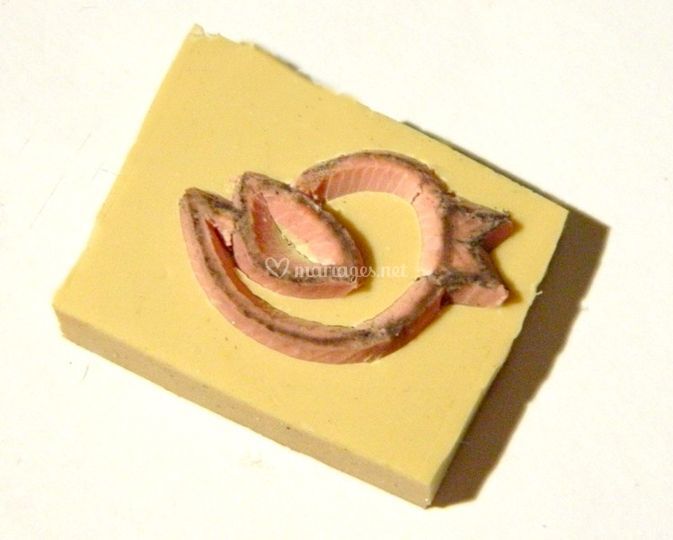
Next, cut all around the contours with the bur, leaving a thickness of 1 to 2 mm, from the outside to the inside. Remove excess gum so that only the contours of the ink pad remain.
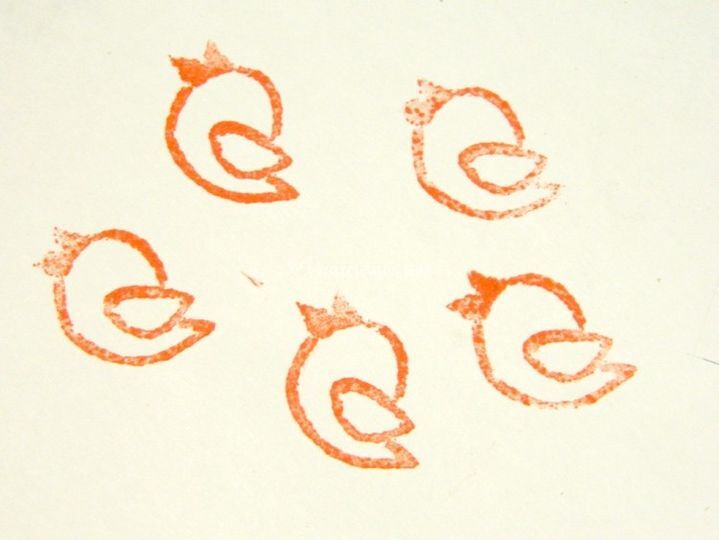
Soak your stamp in ink and put it on the paper surface of your choice. You can use this stamp to decorate your wedding invitations, bags and details.
Photos: Dreamed Instant
* Find all our wedding tutorials in our homemade products section.


Add comment